


Description
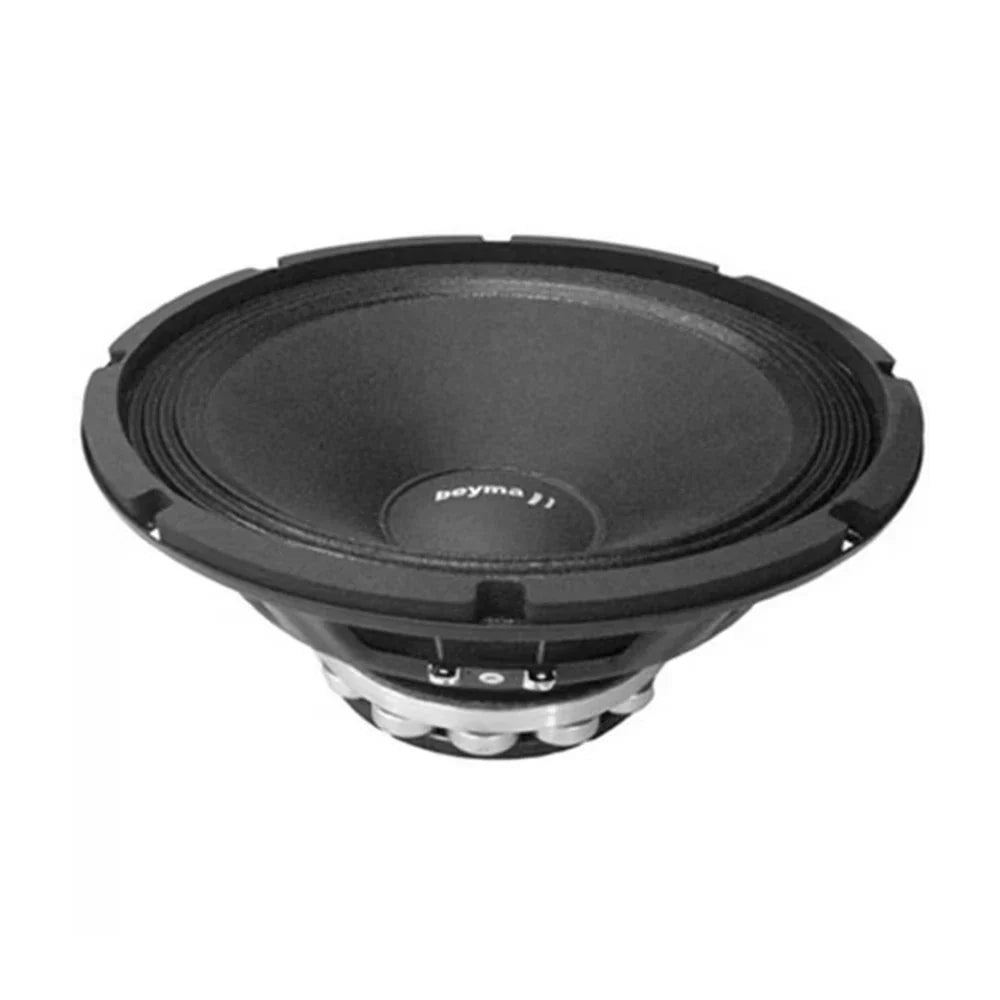
Beyma 10MND 10-Inch Neodymium Midrange / Midbass
If the system needs a 10-inch driver that can carry real midbass weight and still stay useful through the vocal range, the 10MND is the neodymium Beyma choice when efficiency, output and lighter motor weight all matter.
The Beyma 10MND is a 10-inch, 4-ohm neodymium low/mid-frequency driver rated at 250 watts, with 97 dB sensitivity, a published 70 Hz–5 kHz range, a 2.5-inch voice coil and 3 mm Xmax.
That gives it a very specific role. It is not a subwoofer and it is not a narrow vocal-only midrange. It is the speaker you use when a 10-inch location needs to carry the punch, body and lower-midrange energy that makes a high-output system feel physical before the horn or tweeter takes over.
97 dB sensitivity lets a 10-inch driver get loud without wasting amplifier power.
The 10MND is published at 97 dB sensitivity.
That is important because 10-inch midbass sections often get used in motorcycles, Jeeps, powersports and large custom doors where the electrical system is already supporting multiple amplifier channels.
What that solves: the 10MND starts efficient enough that the amplifier does not have to burn huge power just to make the midbass section keep up with horns, tweeters and subwoofers.
That is where a pro-audio-style 10-inch driver earns its place compared with a conventional low-sensitivity car-audio woofer.
The 70 Hz lower range gives it real punch when the installation supports it.
Beyma publishes the 10MND down to 70 Hz.
That lets the driver carry a meaningful part of the kick-drum, bass-guitar and lower-vocal region instead of handing everything below 150 or 200 Hz directly to the subwoofer.
On a large door, saddlebag or sealed pod, that can make the system feel much more connected through the transition from bass to vocals.
Important: 70 Hz is a published response limit, not a universal crossover setting. The actual high-pass still depends on enclosure volume, leakage, excursion demand and how hard the system needs to play.
3 mm Xmax gives the cone room to support that lower operating range.
Beyma publishes 3 mm Xmax for the 10MND.
That is more travel than many narrow-band high-efficiency mids, and it helps the driver produce useful lower-frequency energy without immediately running out of linear movement.
It is still not subwoofer excursion. The point is not to turn the 10MND into a bass driver. The point is that the speaker has enough mechanical range to act like a real midbass/midrange instead of a vocal-only cone.
250 watts is plenty when the driver starts at 97 dB.
The 10MND is rated at 250 watts.
That number should be viewed together with the 97 dB sensitivity, not by itself.
A driver that starts efficient can produce serious output without needing 500 or 800 watts per speaker. The amplifier still needs clean headroom and correct gain structure, but the system does not have to chase wattage numbers just to get loud.
Power handling tells us what the speaker can accept. Sensitivity tells us what the speaker does with that power.
The neodymium motor matters when several 10-inch drivers are going into one build.
The 10MND uses a neodymium motor.
One 10-inch ferrite driver may not seem like a weight problem, but a four- or six-speaker motorcycle or powersports build can add a lot of motor mass quickly.
Neo helps reduce the weight and physical bulk of the speaker package while still supporting the motor force needed for high-efficiency output.
10MND versus 10MFE.
10MND: neodymium motor, 97 dB sensitivity, 250-watt rating, 70 Hz–5 kHz published range and 3 mm Xmax. Choose it when lower weight, broader lower extension and more midbass capability matter.
10MFE-4: the 4-ohm MFE variant is published at 102 dB sensitivity with a narrower high-output midrange focus. Choose it when maximum sensitivity and vocal/midrange output are more important than lower-frequency reach.
The MFE is the efficiency-first choice. The MND is the more balanced midbass/midrange choice.
10MND versus a smaller 8-inch driver.
An 8-inch can package easier and may play higher with less beaminess. The 10MND makes more sense when you have the physical room for a 10-inch and want more cone area to carry lower-frequency energy.
That extra cone area can give the system more impact through kick drum and lower mids without asking the subwoofer to play too high.
Where we would use the 10MND.
This driver makes sense in motorcycle saddlebag systems, large Jeep and powersports pods, custom doors, speaker walls and other high-output builds where a 10-inch midbass/midrange section has enough room to work properly.
It normally belongs below a dedicated horn, compression driver or tweeter. With DSP, we would set the lower crossover around the actual enclosure and excursion behavior, set the upper crossover around the high-frequency driver above it, then tune level, EQ, phase and timing so the 10-inch integrates instead of sounding like a separate speaker section.
The result: a high-efficiency 10-inch Beyma that gives you more low-frequency authority than a vocal-only midrange while staying light enough and efficient enough to make sense in serious multi-speaker mobile systems.
Manufacturer Specifications
- Model: Beyma 10MND
- Product type: Low / mid-frequency neodymium loudspeaker
- Sold as: Single speaker
- Nominal diameter: 250 mm / 10 inches
- Nominal impedance: 4 ohms
- Power rating: 250 watts
- Sensitivity: 97 dB, 1 W / 1 m
- Published frequency range: 70 Hz–5 kHz
- Voice-coil diameter: 63.5 mm / 2.5 inches
- Xmax: 3 mm
- Motor: Neodymium
System Design Guidance
The published 70 Hz lower response is not a universal crossover recommendation. Final high-pass, low-pass, amplifier power and DSP settings must be selected around the actual enclosure, excursion demand, driver above it and the rest of the system.
Where this fits in the build
These speakers have to work where wind, road noise, mounting space and exposure change the job. Match the driver to the actual location, output target, amplifier power and environment instead of treating it like a normal door-speaker replacement.