


Description
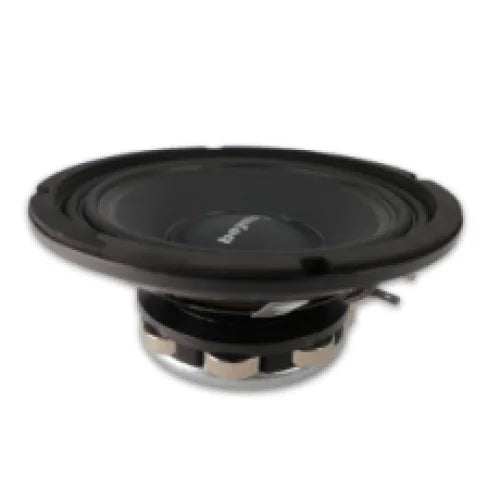
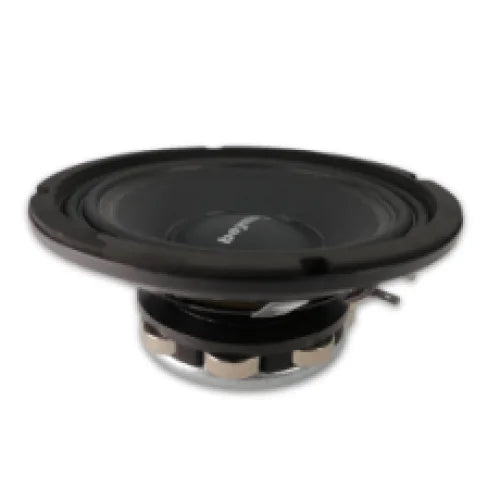
Beyma 6GMND 6.5-Inch Neodymium Wide-Band Midrange
If the system only has room for one 6.5-inch midrange and you want that driver to cover as much useful vocal and instrumental range as possible, the 6GMND is the broad-band Beyma choice.
The Beyma 6GMND is a 6.5-inch, 4-ohm neodymium midrange rated at 100 watts RMS / 200 watts program, with 95 dB sensitivity, a published 90 Hz–12 kHz range, a 1.5-inch voice coil and 2.5 mm Xmax.
That combination gives it a different job from Beyma's more narrowly focused high-efficiency mids. The 6GMND is about useful bandwidth, lightweight neo packaging and enough sensitivity to stay strong in a real mobile system.
The 90 Hz–12 kHz range is the reason this speaker is so flexible.
Beyma publishes the 6GMND from 90 Hz to 12 kHz.
That does not mean we should run the speaker from 90 Hz all the way to 12 kHz at full output in every installation. It means the driver gives us a broad operating window to design around.
What that solves: in a motorcycle fairing, custom door or compact multi-way system, we have more freedom to choose where the 6.5 hands off to the driver below and the tweeter above instead of being boxed into a narrow vocal-only band.
If packaging is tight, that flexibility matters.
95 dB sensitivity keeps the broad bandwidth from becoming a power problem.
The 6GMND is published at 95 dB sensitivity.
That is not Beyma's highest-sensitivity 6.5-inch midrange, but it is still efficient enough to produce useful output without requiring a huge amplifier channel.
On motorcycles, Jeeps and powersports vehicles, that means the system can cover a broad midrange band without wasting electrical capacity just trying to keep the 6.5 audible over wind, road noise and a strong bass section.
The 2.5 mm Xmax gives it more mechanical room than a narrow vocal-only mid.
Beyma publishes 2.5 mm Xmax for the 6GMND.
That is still midrange-level excursion—not deep midbass or subwoofer travel—but it gives the driver useful mechanical headroom when the lower crossover comes down.
That helps explain why Beyma can publish the 6GMND down to 90 Hz while still keeping the speaker in a compact 6.5-inch neo package.
The important part: published low-frequency response is capability, not permission to run it unprotected. The actual high-pass still depends on the rear chamber and how hard the system needs to play.
100 watts RMS makes more sense when the driver starts efficient.
The 6GMND is rated at 100 watts RMS / 200 watts program.
That can look modest next to 200- and 300-watt pro drivers, but wattage alone does not tell you how loud the speaker will get.
A 95 dB-sensitive driver does not need the same power to reach a given acoustic output as a much less efficient speaker.
The better question is not how many watts the label can take. It is whether the speaker's sensitivity, bandwidth and power handling match the system job.
The neodymium motor helps when space and panel weight matter.
The 6GMND uses a neodymium motor.
That makes sense in motorcycle fairings, pods and fabricated doors where motor bulk and total panel weight matter. Several ferrite drivers can add a lot of mass quickly.
Neo lets the system keep the speaker package lighter while still giving the motor the force needed for efficient midrange output.
6GMND versus 6MND.
6GMND: 95 dB sensitivity, 90 Hz–12 kHz and 2.5 mm Xmax. Choose it when broader bandwidth and a little more lower-frequency mechanical room matter.
6MND: Beyma publishes 96 dB sensitivity, 150 Hz–8 kHz and 2 mm Xmax. Choose it when the system is more purely focused on efficient midrange output and does not need the extra bandwidth of the 6GMND.
The 6MND gives us a little more sensitivity. The 6GMND gives us more usable range.
6GMND versus PRO6Q200ND.
PRO6Q200ND: lower sensitivity, much more excursion and a stronger midbass role. Choose it when the 6.5-inch driver needs to move farther and carry more lower-frequency energy.
6GMND: higher sensitivity and much broader upper extension. Choose it when the driver is mainly responsible for vocals and instruments and the system values efficiency and wide-band midrange coverage.
Same nominal diameter. Completely different system job.
Where we would use the 6GMND.
This makes sense in motorcycle fairings, powersports pods, Jeep and open-cabin systems, custom doors and compact multi-way front stages where the 6.5-inch midrange has to cover a broad part of the music without becoming a huge amplifier load.
It can work beneath a dedicated tweeter or compression driver, or as the middle driver in a three-way system with a real midbass underneath it.
With DSP, we can set the high-pass around the actual installation, choose the upper handoff based on the tweeter above it, then manage EQ, level, phase and timing so the broad bandwidth becomes useful rather than messy.
The result: a lightweight 6.5-inch Beyma with enough efficiency to get loud, enough bandwidth to simplify system design and enough flexibility to make sense in builds where one midrange driver has to cover a lot of ground.
Manufacturer Specifications
- Model: Beyma 6GMND
- Product type: Wide-band midrange loudspeaker
- Sold as: Single speaker
- Nominal diameter: 165 mm / 6.5 inches
- Nominal impedance: 4 ohms
- Power handling: 100 watts RMS
- Program power: 200 watts
- Sensitivity: 95 dB, 1 W / 1 m
- Published frequency range: 90 Hz–12 kHz
- Voice-coil diameter: 38.1 mm / 1.5 inches
- Xmax: 2.5 mm
- Motor: Neodymium
System Design Guidance
The published 90 Hz lower response is not a universal high-pass recommendation. Final high-pass, low-pass, amplifier power, rear loading and DSP settings must be selected around the actual installation and the drivers used above and below the 6GMND.
Where this fits in the build
These speakers have to work where wind, road noise, mounting space and exposure change the job. Match the driver to the actual location, output target, amplifier power and environment instead of treating it like a normal door-speaker replacement.